Your Post Title
Integration of Azure Key Vault with Azure SQL Database for Data Encryption
Introduction
This walkthrough guides you through integrating Azure Key Vault with an Azure SQL Database to implement encryption for sensitive data using Always Encrypted technology. The process involves:
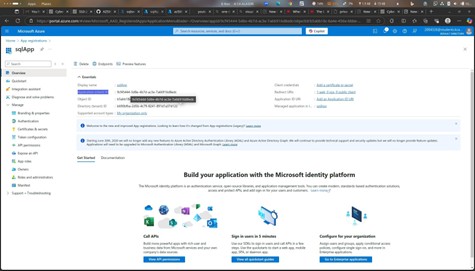
- Creating and configuring an Azure AD application to access Azure Key Vault
- Enabling encryption on an Azure SQL Database
- Using a .NET Console Application to demonstrate secure data handling with Azure Key Vault
By following this guide, you will learn how to securely encrypt sensitive data, such as Social Security Numbers (SSNs) and birthdates, ensuring compliance with data protection regulations and best practices.
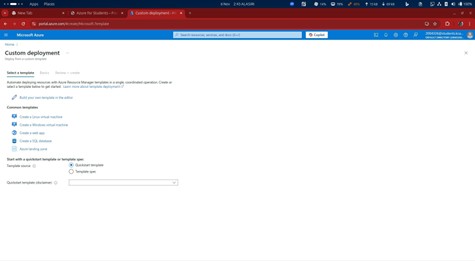
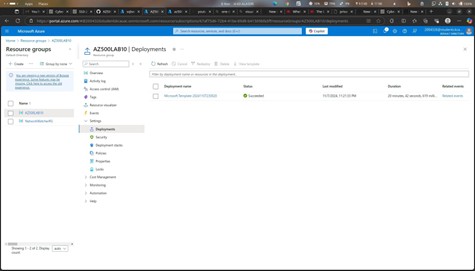
Exercise 1: Deploy the Base Infrastructure Using an ARM Template
Step 1: Deploy Resource Groups
- Delete any existing Resource Groups.
- Create a new Resource Group in Brazil South.
Deploy the required infrastructure using an Azure Resource Manager (ARM) template.
 ✅ Deployment Status: The deployment should be successful in Brazil South. –
  —
—
Exercise 2: Configure Azure Key Vault with a Key and a Secret
Step 1: Create and Configure an Azure Key Vault
- Navigate to Azure Portal → Key Vaults.
- Click + Create and configure the Key Vault settings.
Assign appropriate permissions.
Step 2: Add a Key to the Key Vault
- Open the Azure Key Vault.
- Navigate to Keys → + Generate/Import.
Create a new key and store it securely.
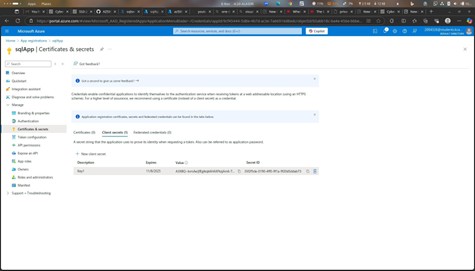
Step 3: Add a Secret to the Key Vault
- Open the Azure Key Vault.
- Navigate to Secrets → + Generate/Import.
- Store the secret value (e.g., database credentials).
✅ Verification: The Objects section in Azure Key Vault should display the configured key and secret.
Exercise 3: Configure an Azure SQL Database and a Data-Driven Application
Step 1: Enable a Client Application to Access the Azure SQL Database
- Navigate to Azure SQL Database.
- Configure firewall rules to allow access.
Enable authentication for the client application.
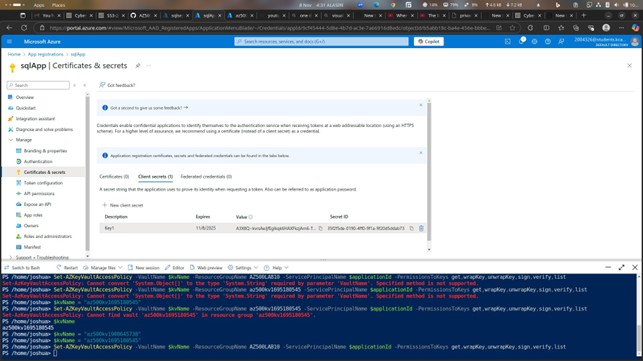
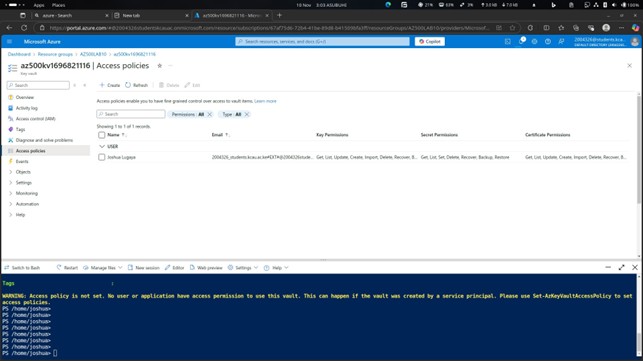
Step 2: Create a Policy Allowing Application Access to Key Vault
- Open Azure Key Vault.
- Go to Access Policies → + Add Access Policy.
Assign permissions for the client application.
Step 3: Retrieve SQL Azure Database ADO.NET Connection String
- Navigate to Azure SQL Database.
Retrieve the ADO.NET connection string from the connection details section.
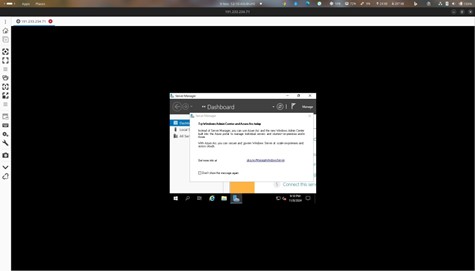
Step 4: Log on to the Azure VM Running Visual Studio 2019 and SQL Management Studio 19
- Open Azure Portal.
Access the Azure Virtual Machine where Visual Studio 2019 and SQL Management Studio 19 are installed.
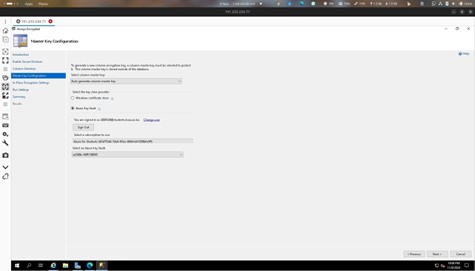
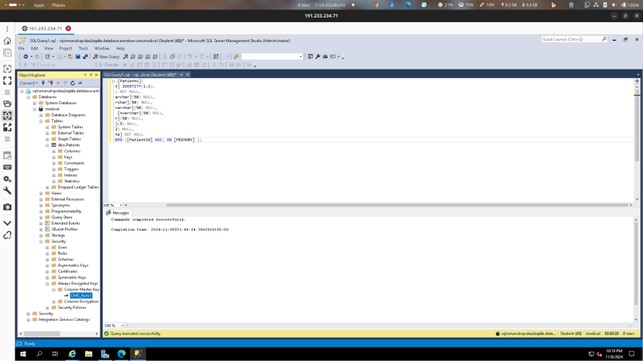
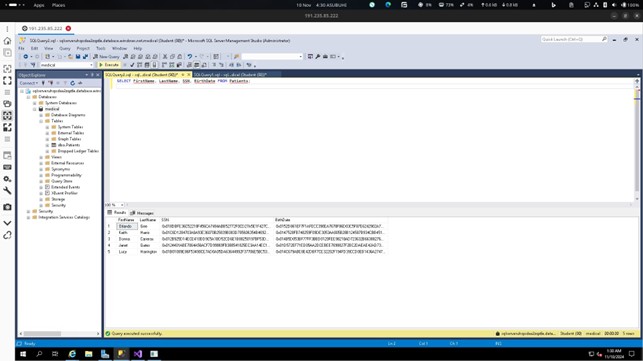
Step 5: Create a Table in the SQL Database and Encrypt Data Columns
- Open SQL Management Studio.
- Create a new table with sensitive data columns.
- Apply Always Encrypted to the necessary fields (e.g., SSN, birthdate).
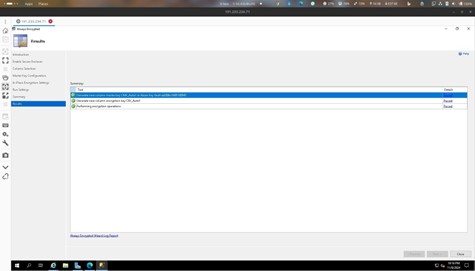
✅ Verification: Run SELECT * FROM your_table to verify encrypted columns.

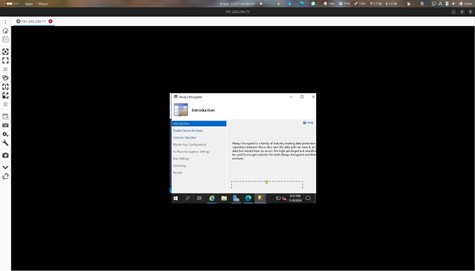

Exercise 4: Demonstrate the Use of Azure Key Vault for Encryption
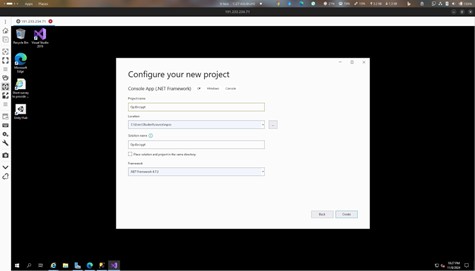
Step 1: Run a Data-Driven Application to Encrypt Data
- Open Visual Studio 2019.
- Run the .NET Console Application to insert encrypted data.
- Retrieve and verify that sensitive fields remain encrypted.
– 

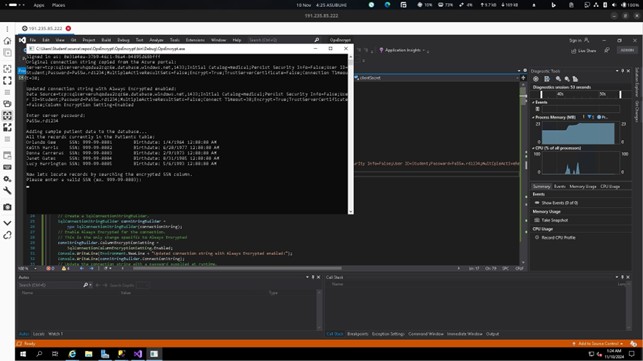
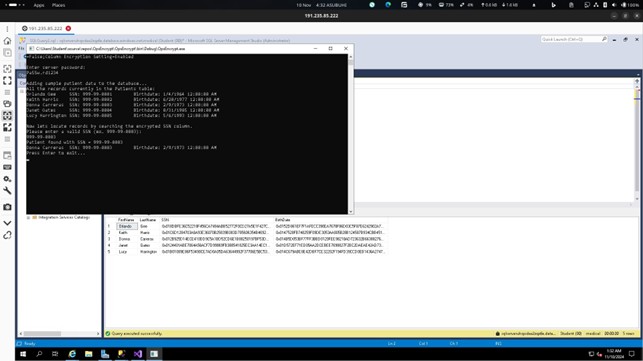
✅ Expected Output: The retrieved SSN and birthdate should appear encrypted in SQL queries.
Conclusion
The integration of Azure Key Vault with Azure SQL Database provides a secure and compliant approach to encrypting sensitive data. By leveraging Always Encrypted technology, businesses can:
- Safeguard critical information like personal identifiers and healthcare data.
- Ensure compliance with data privacy regulations.
- Mitigate risks associated with unauthorized data access.
This walkthrough demonstrated how to securely encrypt and decrypt data using a .NET Console Application, enhancing cloud-based encryption solutions in enterprise environments.